
As I promised, my delayed review of Voigtlander Nokton Classic 40mm f1.4 M used on Sony Alpha A7. First I’m going to explain some “mysterious” (lots of questions in the internet!) aspects of this lens.

Why 40mm?
So, first of all – why such weird focal length like 40mm, while there are tons of great M-mount 35mm and 50mm lenses? 🙂
I’ve always had problems with “standard” and “wide-standard” focal lengths. Honestly, 50mm feels too narrow. It’s great for neutral upper-body or full-body portraits and shooting in open-door environments, but definitely limiting in interiors and for situational portraits.
In theory, it was supposed to be a “neutral” focal length, similar to human perception of perspective, but is a bit narrower. So why so many 50mm lens and they are considered standard? Historical reasons and optics – they are extremely easy to produce and correct any kinds of optical problems (distortion, aberration, coma etc.) and require less optical elements than other kinds of lenses to achieve great results.
On the other hand, 35mm usually catches too much environment and photos get a bit too “busy”, while it’s still not true wide angle lens for amazing city or landscape shots.
40mm feels just right as a standard lens. Lots of people recommend against 40mm on rangefinders, as Leica and similar don’t have any framings for 40mm. But on digital full frame mirrorless with great performing EVF? No problem!
Still, this is just personal preference. You must decide on your own if you agree, or maybe prefer something different. 🙂 My advice on picking focal lengths is always – spend a week and take many photos in different scenarios using cheap zoom kit lens. Later check the EXIF data and check what kinds of focal lengths you used for the photos you enjoy the most.

Great focal length for daily “neutral” shooting.
What does it mean that this lens is “classic”?
There is lots of bs in the internet about “classic” lens design. Some people imply that it means that lens is “soft in highlights”. Obviously this makes no sense, as sharpness is not a function of brightness – either lens is soft or sharp. It can mean transmittance problems wrongly interpreted, but what’s the truth?
Classic design usually means design of lenses relating to historical designs of earlier XX century. Lenses were designed this way before introduction of complex coating and many low-dispersion / aspherical elements. Therefore, they have relatively lower number of elements – as without modern multi-coating and according to Fresnel law on every contact point between glass and air there was light transmission loss and light got partially reflected. Lack of proper lens coating resulted not only in poor transmission (less light getting to film / camera sensor) and lower contrast, but also in flares and various other artifacts coming from light bouncing inside the camera. Therefore number of optical elements and optical groups was kept a bit lower. With lower number of optical elements it is impossible to fix all lens problems – like coma, aberration, dispersion or even sharpness.
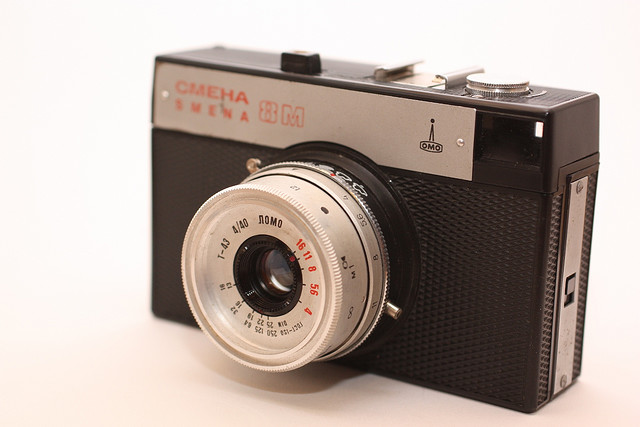
“Classic” lenses were also used with rangefinders that had quite large close-focusing range (usually 1m). All this disadvantages had a good side effect – lenses designed this way were much smaller.
And while Voigtlander Nokton Classic bases on “classic” lens design, it has modern optical element coating, a bit higher number of optical elements and keeps very small size and weight while fixing some of those issues.
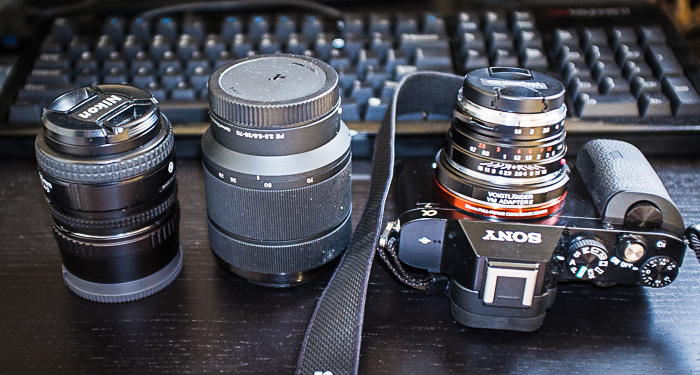
Optical elements – notice how close pieces of glass are together (avoiding glass/air contact)
What’s the deal with Single / Multi Coating?
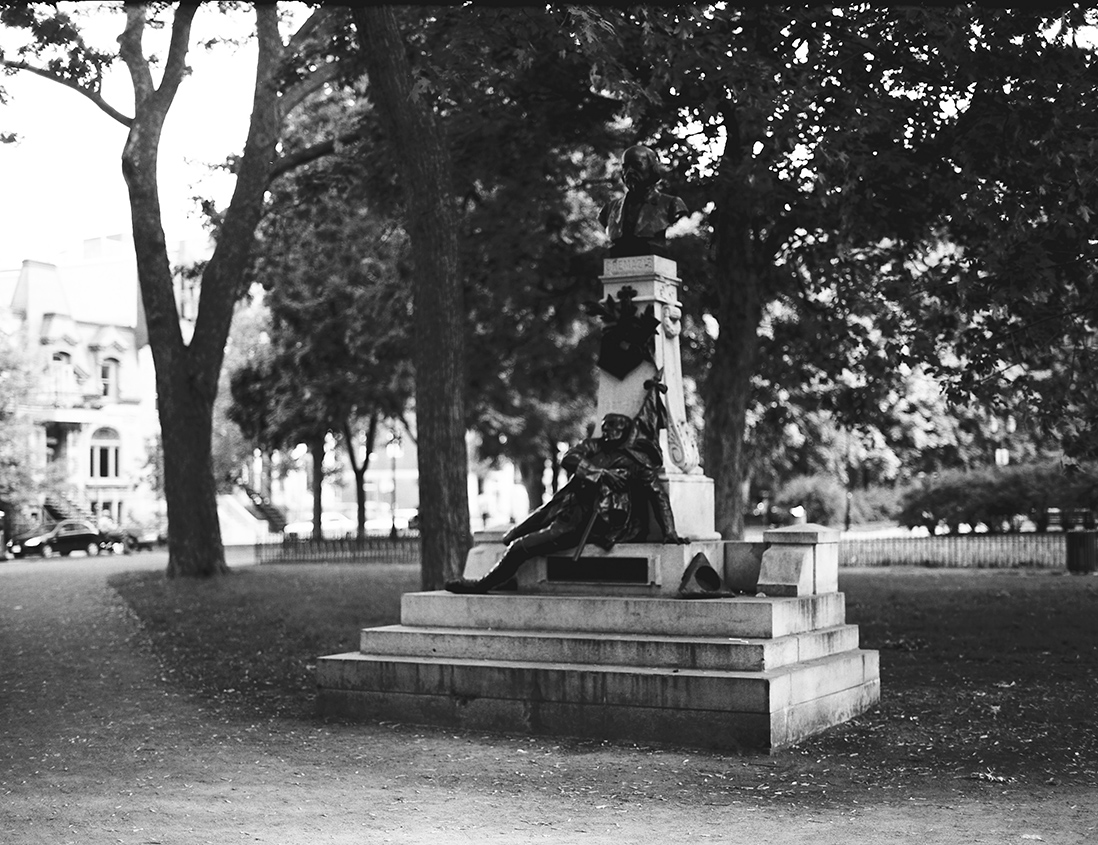
I mentioned the effect of lens coating in previous section. For unknown reason, Voigtlander decided to release both truly “classic” version with single, simple coating and multi-coated version. Some websites try to explain it that a) single coating is cheaper b) some contrast and tranmission loss is not that bad when shooting on B&W film c) flaring can be desired effect. I understand this reasoning, but if you shoot anything in color, stick to the multi-coated version – no need to lose any light!

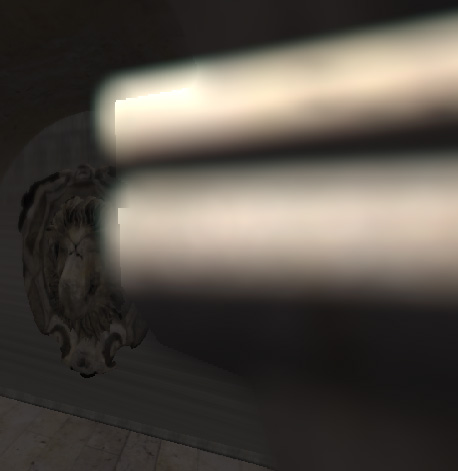
Even with Multi-coating, flaring of light sources at night can be a bit strong. Notice quite strong falloff and small coma in corners.
Lens handling

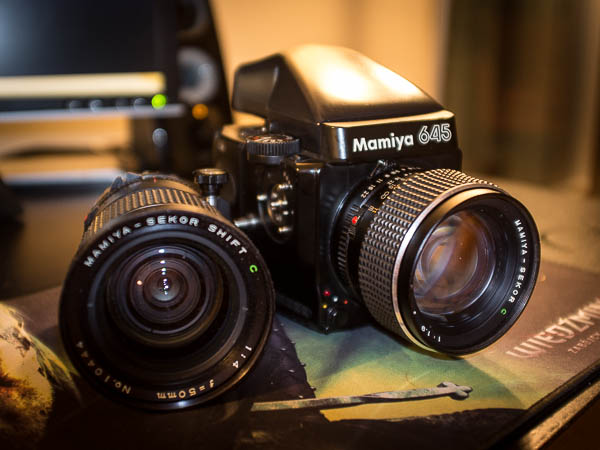
Love how classic and modern styles work great together on this camera / lens combination
Lens handles amazingly well on Sony A7. With EVF and monitor it’s really easy to focus even at f/1.4 (although takes a couple of days of practicing). Aperture ring and focus ring work super smooth. Size is amazing (so small!) even with adapter – advantage of M-Mount – lenses for M-mount were designed to have small distance to film. Some people mention problems on Sony A7/A7R/A7S with purple coloring on the corners on wider-angle Voigtlander lenses due to grazing angle between light and sensor – fortunately that’s not the case with Nokton 40mm 1.4.
Only disadvantage is that sometimes while eye at EVF i “lose” the focus tab and cannot locate it. Maybe it takes some time to get used to it?
In general, it is very enjoyable and “classic” experience, and it’s fun just to walk around with camera with Nokton 40mm on.

Image quality
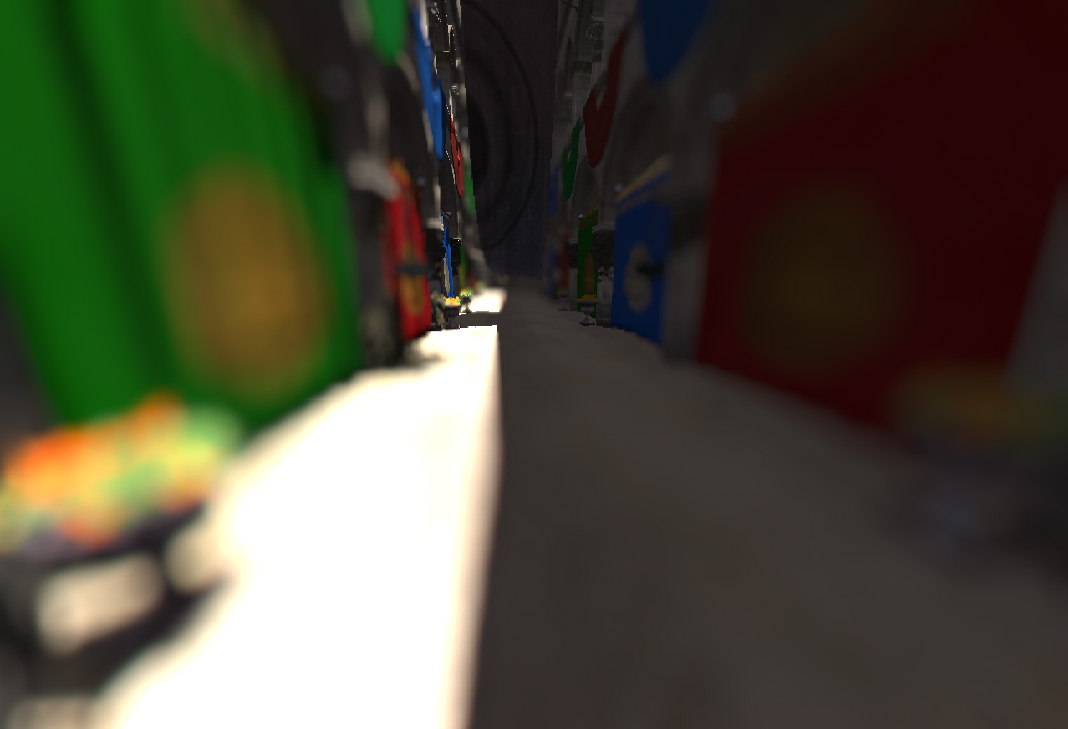
I’m not a pixel-peeper and won’t analyze all micro-aspects on crop images or measure. Just conclusions from every day shooting. The lens I have (remember that every lens copy can differ!) is very sharp – has quite decent sharpness even at f/1.4 (although it is extremely easy with only slight movement to lose focus…). Performance is just amazing at night – great lens for wide-opened f/1.4 night photos – you don’t have to pump ISO or fight with long shutter speed – just enjoy photography. 🙂

Pin-sharp at f/1.4 with nice, a bit busy bokeh

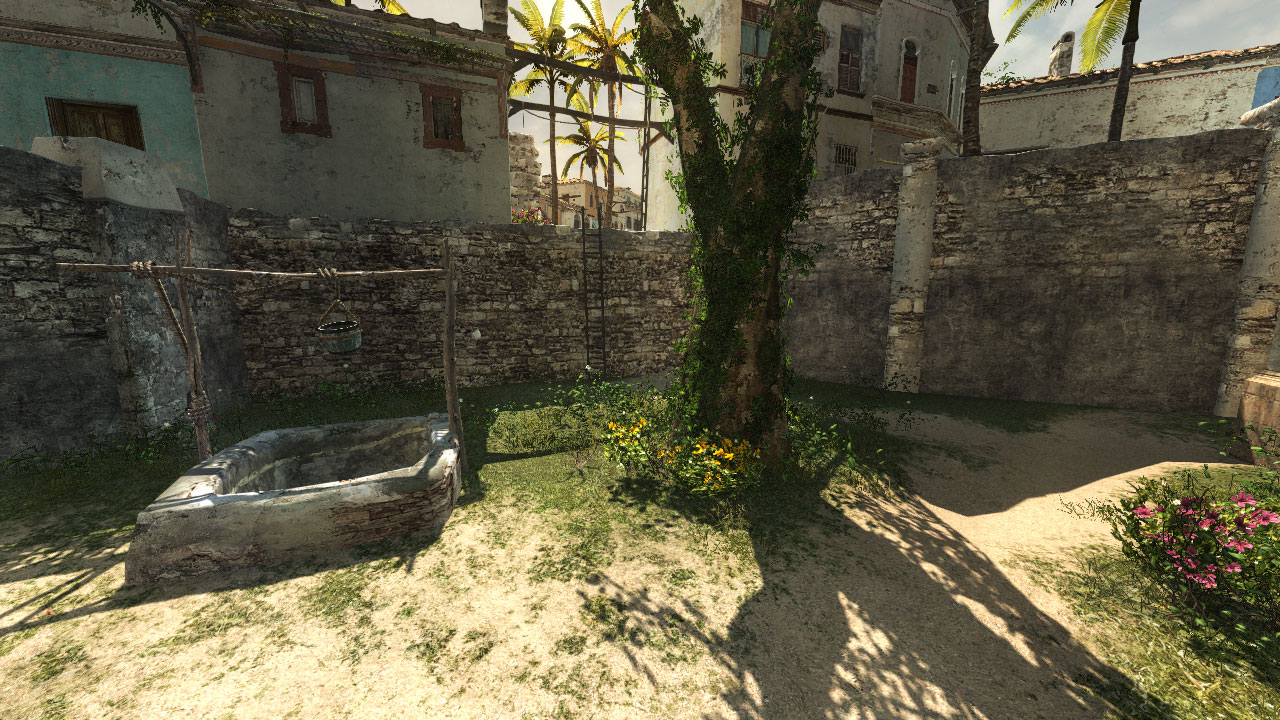
Higher apertures = corner to corner sharpness
Bokeh is a bit busy, gets “swirly” and squashed, sometimes can be distracting – but I like it this way. Depends on personal preferences. At f/1.4 with 40mm it can almost melt down the backgrounds. Some people complain about purple fringing (spectrochromatism) of bokeh – something I wrote about in my post about Bokeh scatter DoF. I didn’t notice it on almost any of my pictures, on one I removed it with one click in Lightroom – definitely not that bad.

Bokeh

At larger apertures bokeh gets quite “swirly”. Still lots of interesting 3D “pop”.
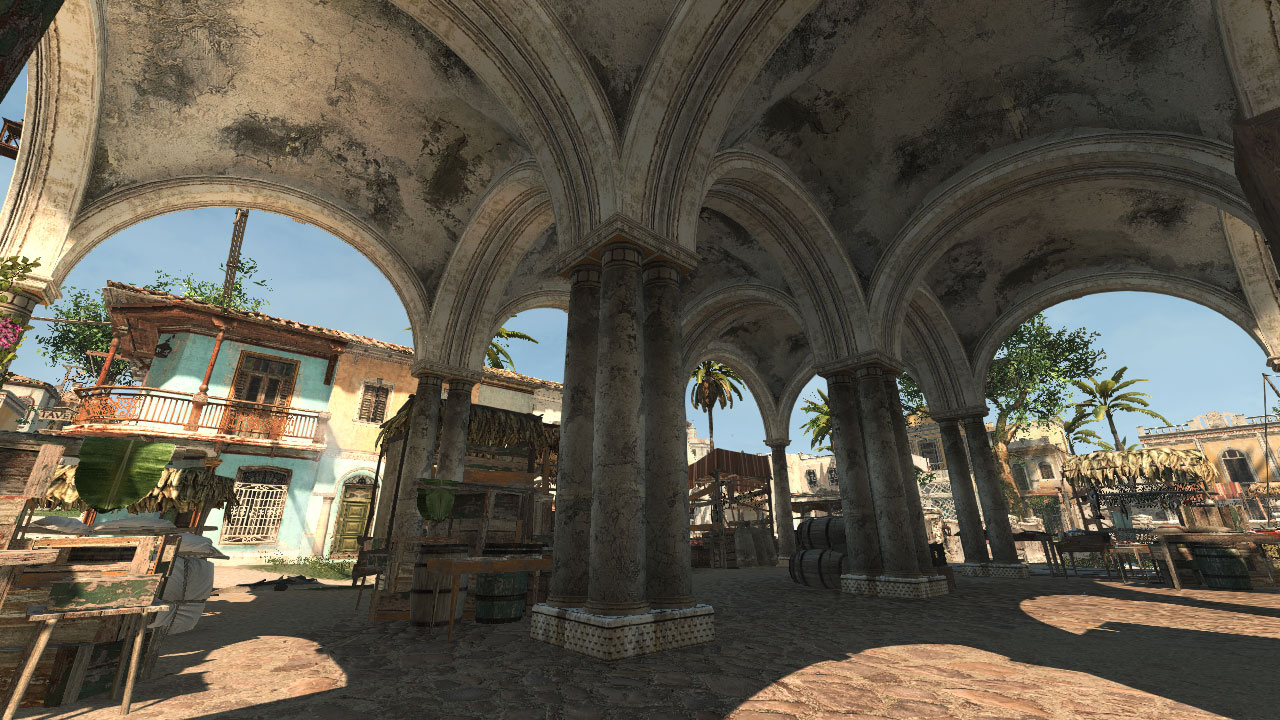
There is definitely some light fall-off at f/1.4 and f/2.0, but I never mind those kind of artifacts. Distortion is negligible in regular shooting – even architecture.
General contrast and micro-contrast is nice and there is this “3D” look to many photos. I really don’t understand complaints and see big difference compared to “modern” designed lenses – but I never used latest Summicron/Summilux so maybe I haven’t seen everything. 😉
Color definition is very neutral – no visible problematic coloring.
Performance is a bit worse in corners – still quite sharp, but some visible coma (squashing of image in plane perpendicular to radius).

Some fall-off and coma in corners. Still pretty amazing night photo – Nokton is truly deserved name.
Unfortunately, even with Multi-Coating, there is some flaring at night from very bright light sources. Fortunately I didn’t notice any ghosting that often comes with it.
Disadvantages
So far I have one, biggest problem with this lens – close focus range of 0.7m. It rules out many tricks with perspective on close-ups, any kind of even semi-macro photography (photos of food while at restaurant). While at f/1.4 you could have amazingly shallow DoF and wide bokeh, that’s not the case here, as you cannot set focus closer… It can even be problematic for half-portraits. Big limitation and pity, otherwise the lens would be perfect for me – but on the other hand such focus range contributes to smaller lens size. As always – you cannot have only advantages (quality, size&weight, aperture and in this case close-focus range). Some Leica M-lenses have focus range of 1m – I don’t imagine shooting with such lenses…
Recommendations
Do I recommend this lens? Oh yes! Definitely great buy for any classic photography lover. You can use it on your film rangefinder (especially if you own Voigtlander Bessa) and on most of digital mirrorless camera. Great image quality, super pleasant handling, acceptable price – if you like 40mm and fast primes, then it’s your only option. 🙂


You must be logged in to post a comment.